Woodcraft
Woodworking Project Paper Plan to Build Adjustable Adirondack Chair

Woodcraft
Woodworking Project Paper Plan to Build Adjustable Adirondack Chair
Details
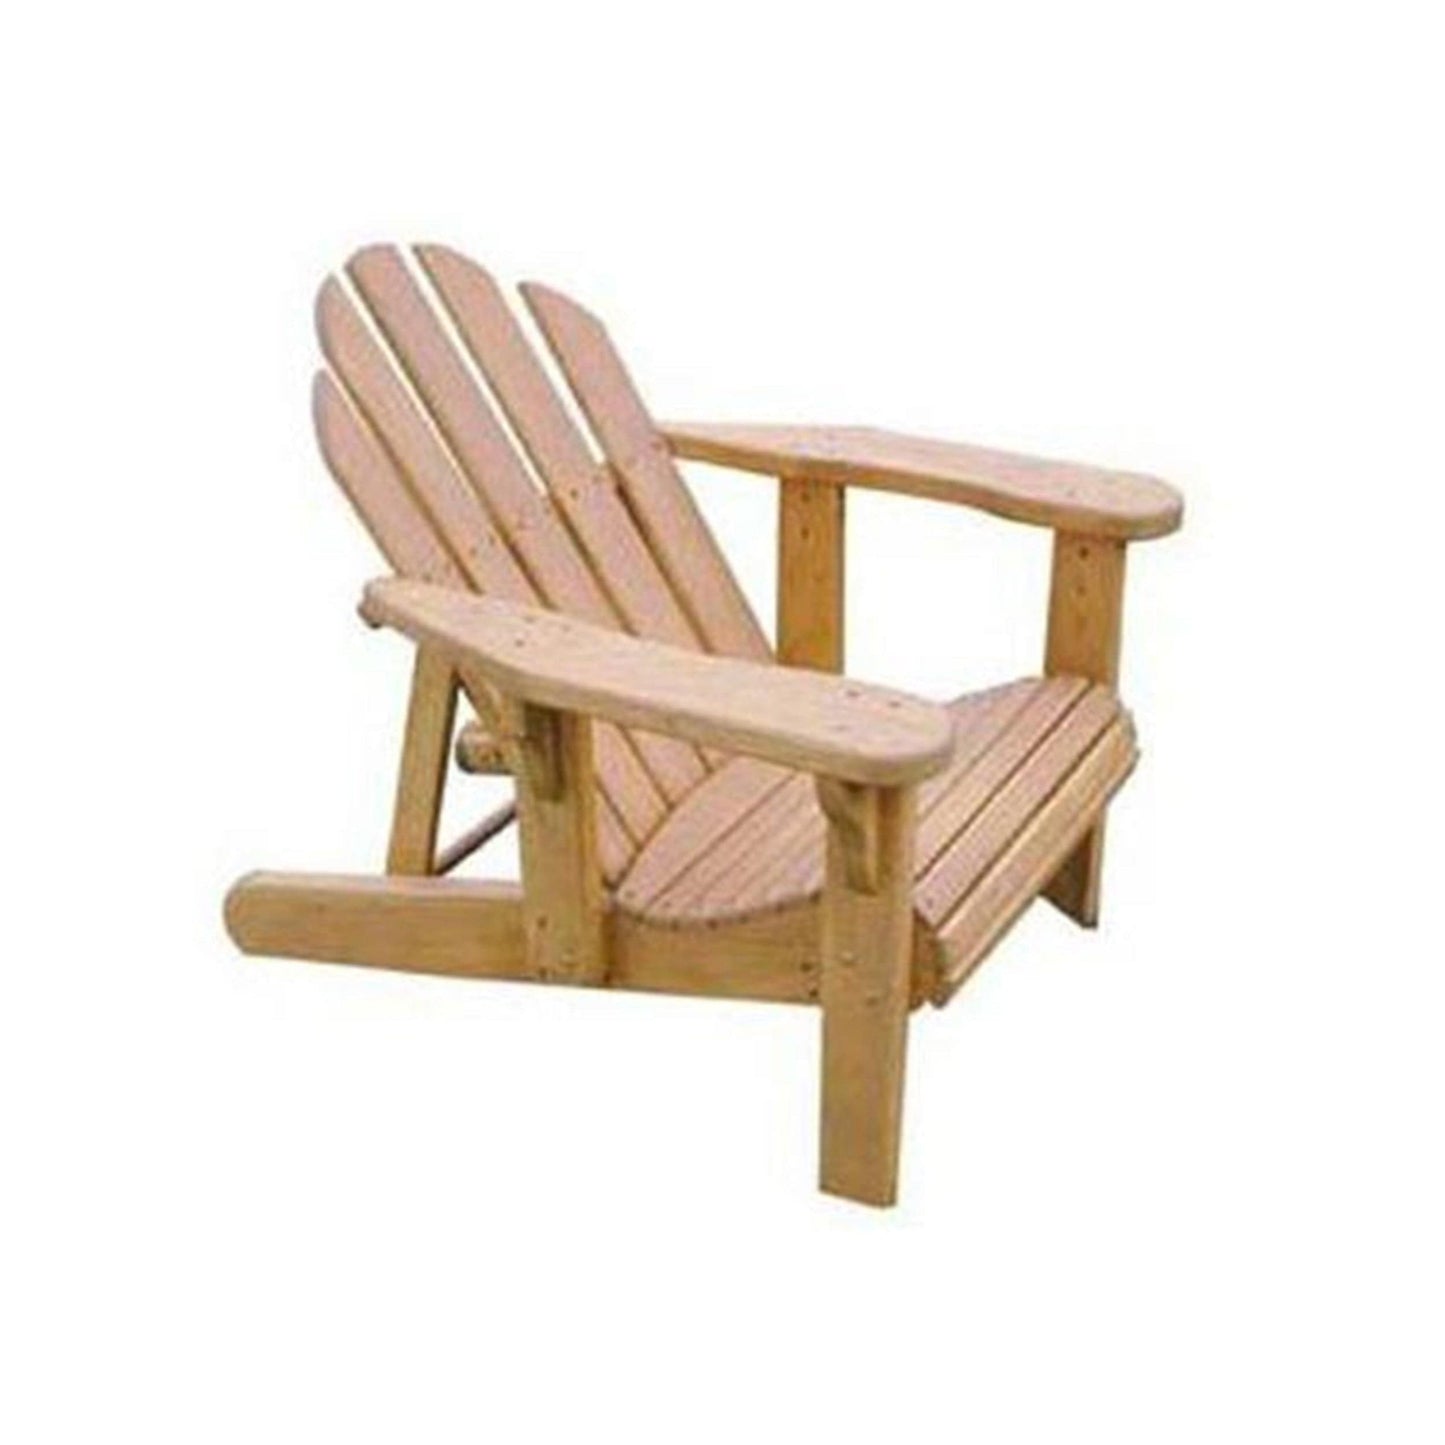
A chair that's easy to build even for the beginner. Our detailed plan includes a list of the materials you need, full size traceable patterns for all curved parts, and a detailed instructional booklet with super clear directions and many photos. The chair looks and sits great. All materials used in this project are standard construction grade sizes, so you can easily find the materials at any local "home" store with no worries -- no strange sizes or dimensions means your job is easier because there is no planing or other hasslesome chores.
You can just cut and make a great chair. Seat width is 22", depth 25". This chair is sure to be a family favorite -- we almost had a brawl over the prototype. The chair is not only comfortable, but it's very sturdy. A few features this chair has which others lack: extra wide arm rests for drinks or plates of food, an adjustable back that affords four positions of comfort, and please take note of the contoured design of both the seat and back rest.
Articles & Blogs
-

Springtime in the Adirondacks
Spring is finally here! It’s time to get out on your patio or deck and enjoy the season. If you are thinking about new outdoor furniture this year, give some...
Springtime in the Adirondacks
Spring is finally here! It’s time to get out on your patio or deck and enjoy the season. If you are thinking about new outdoor furniture this year, give some...

Compare With
- Choosing a selection results in a full page refresh.