

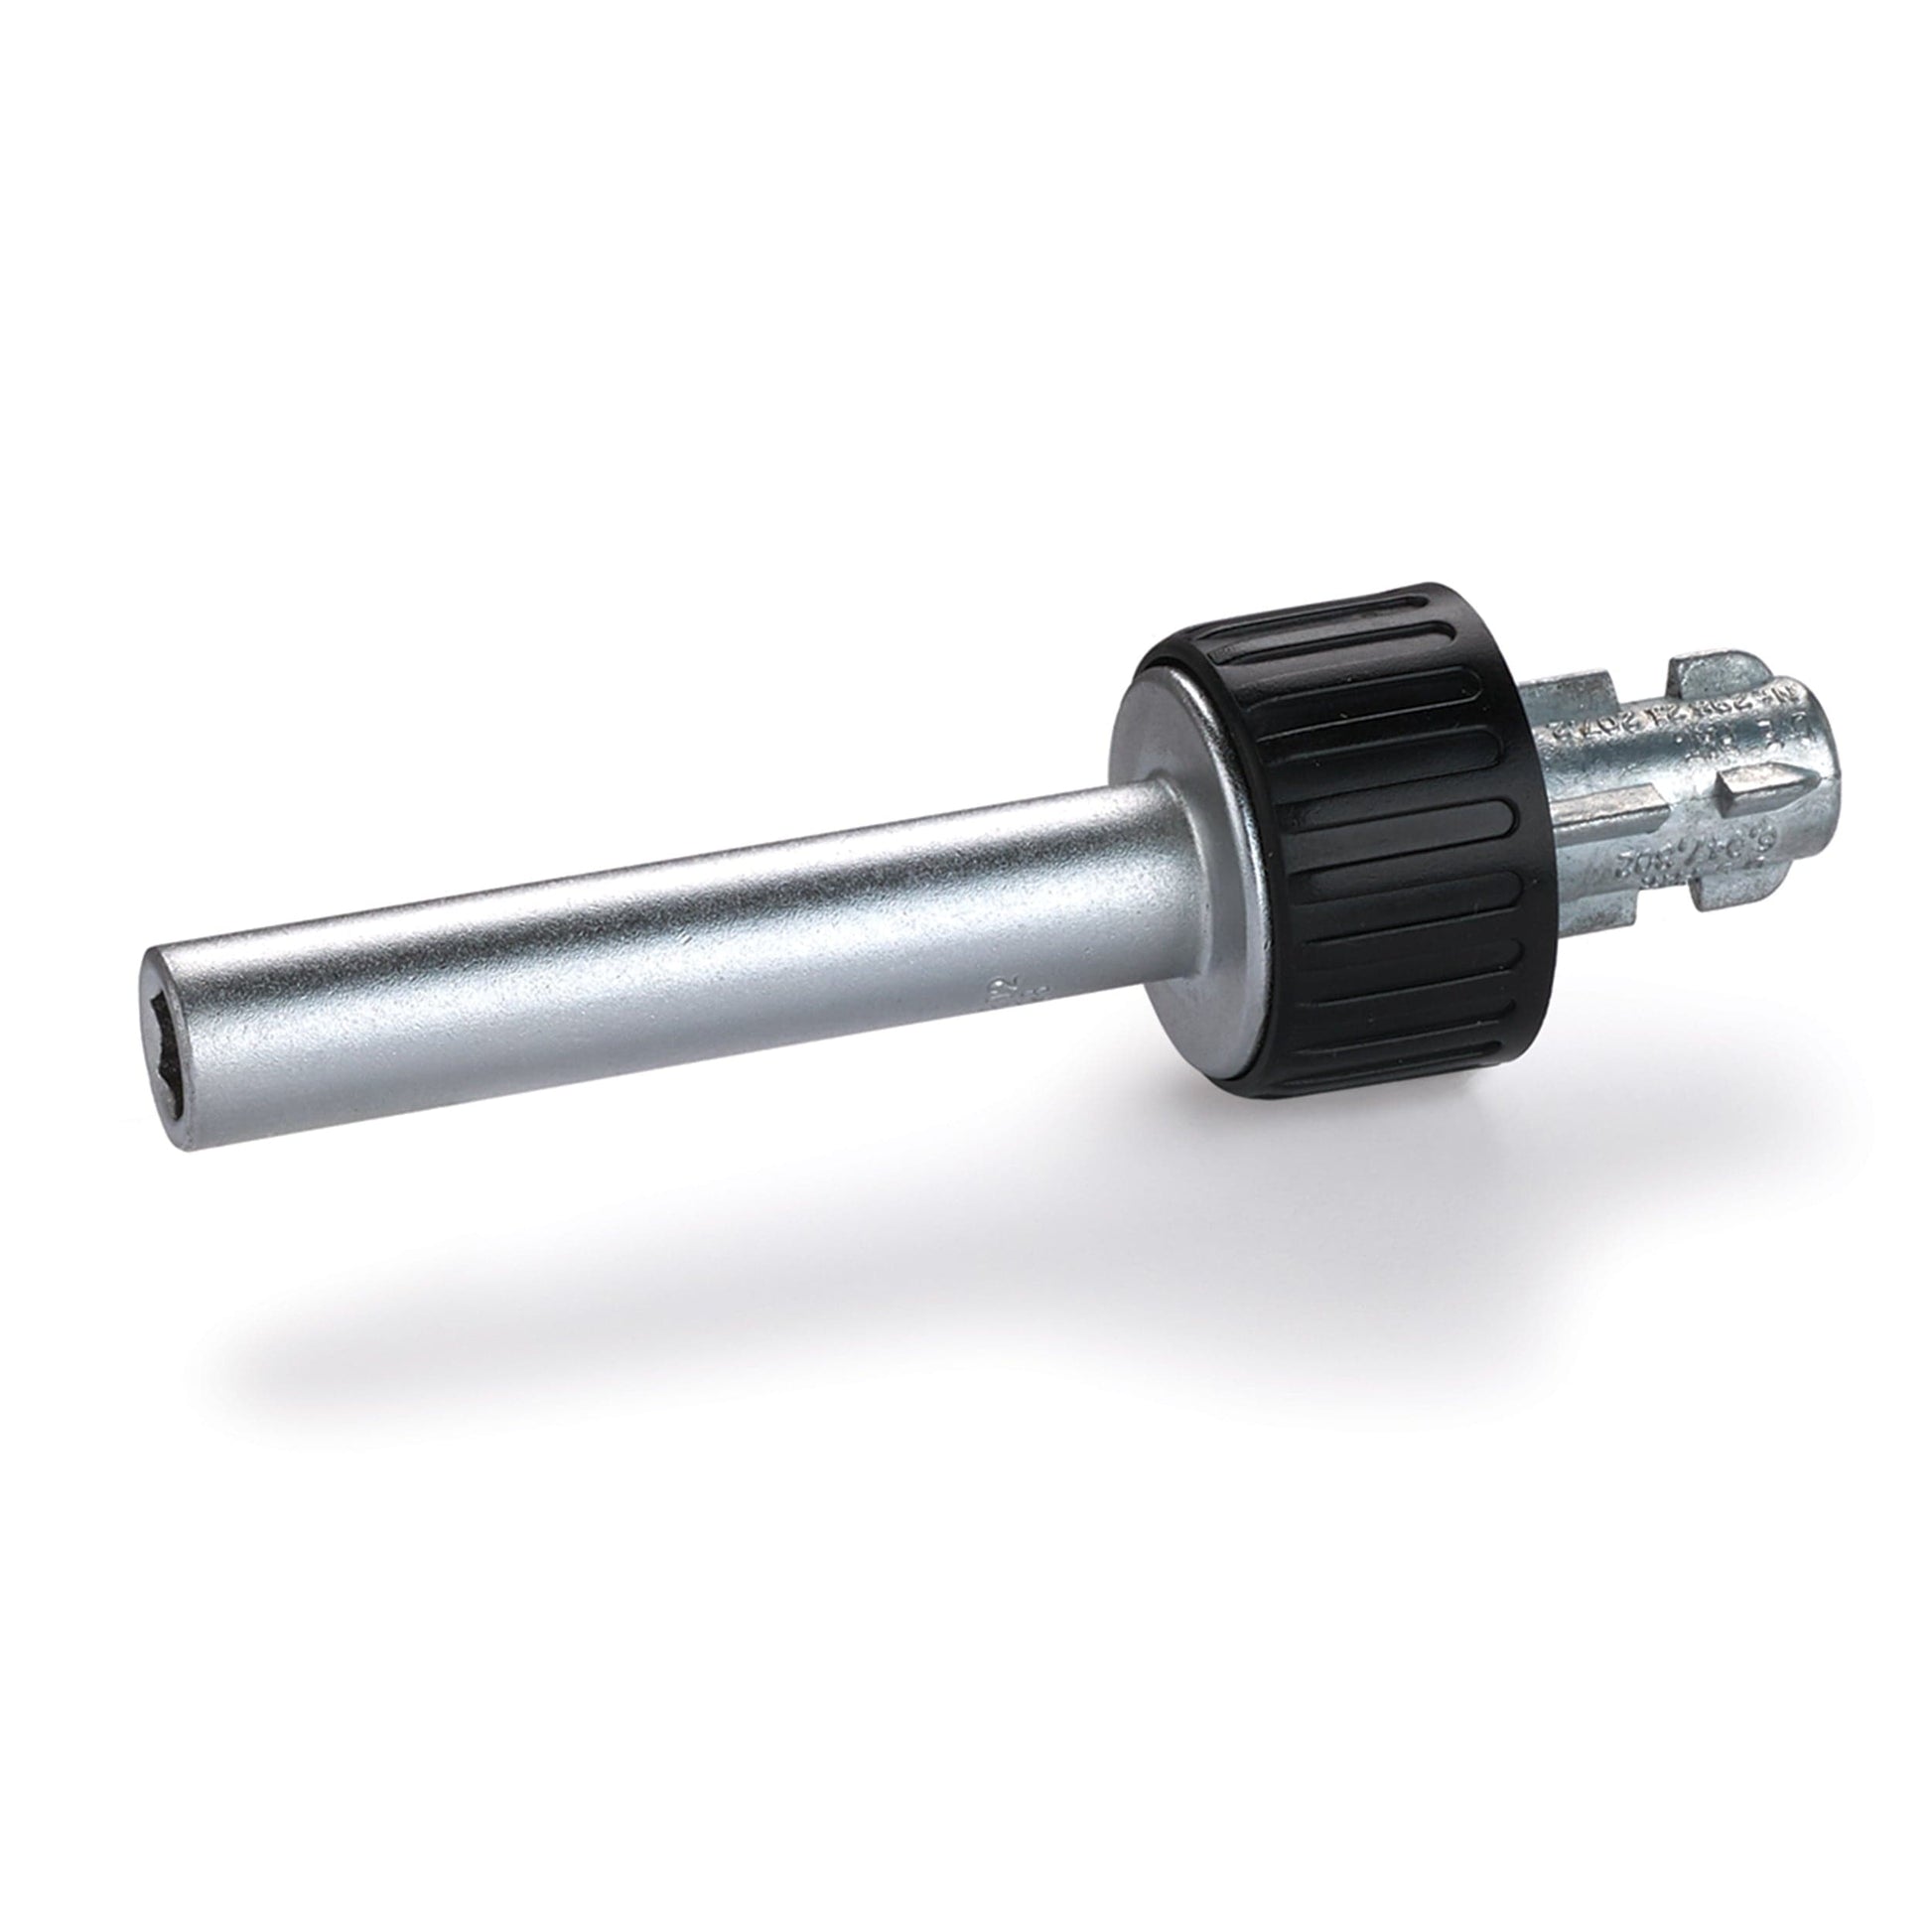
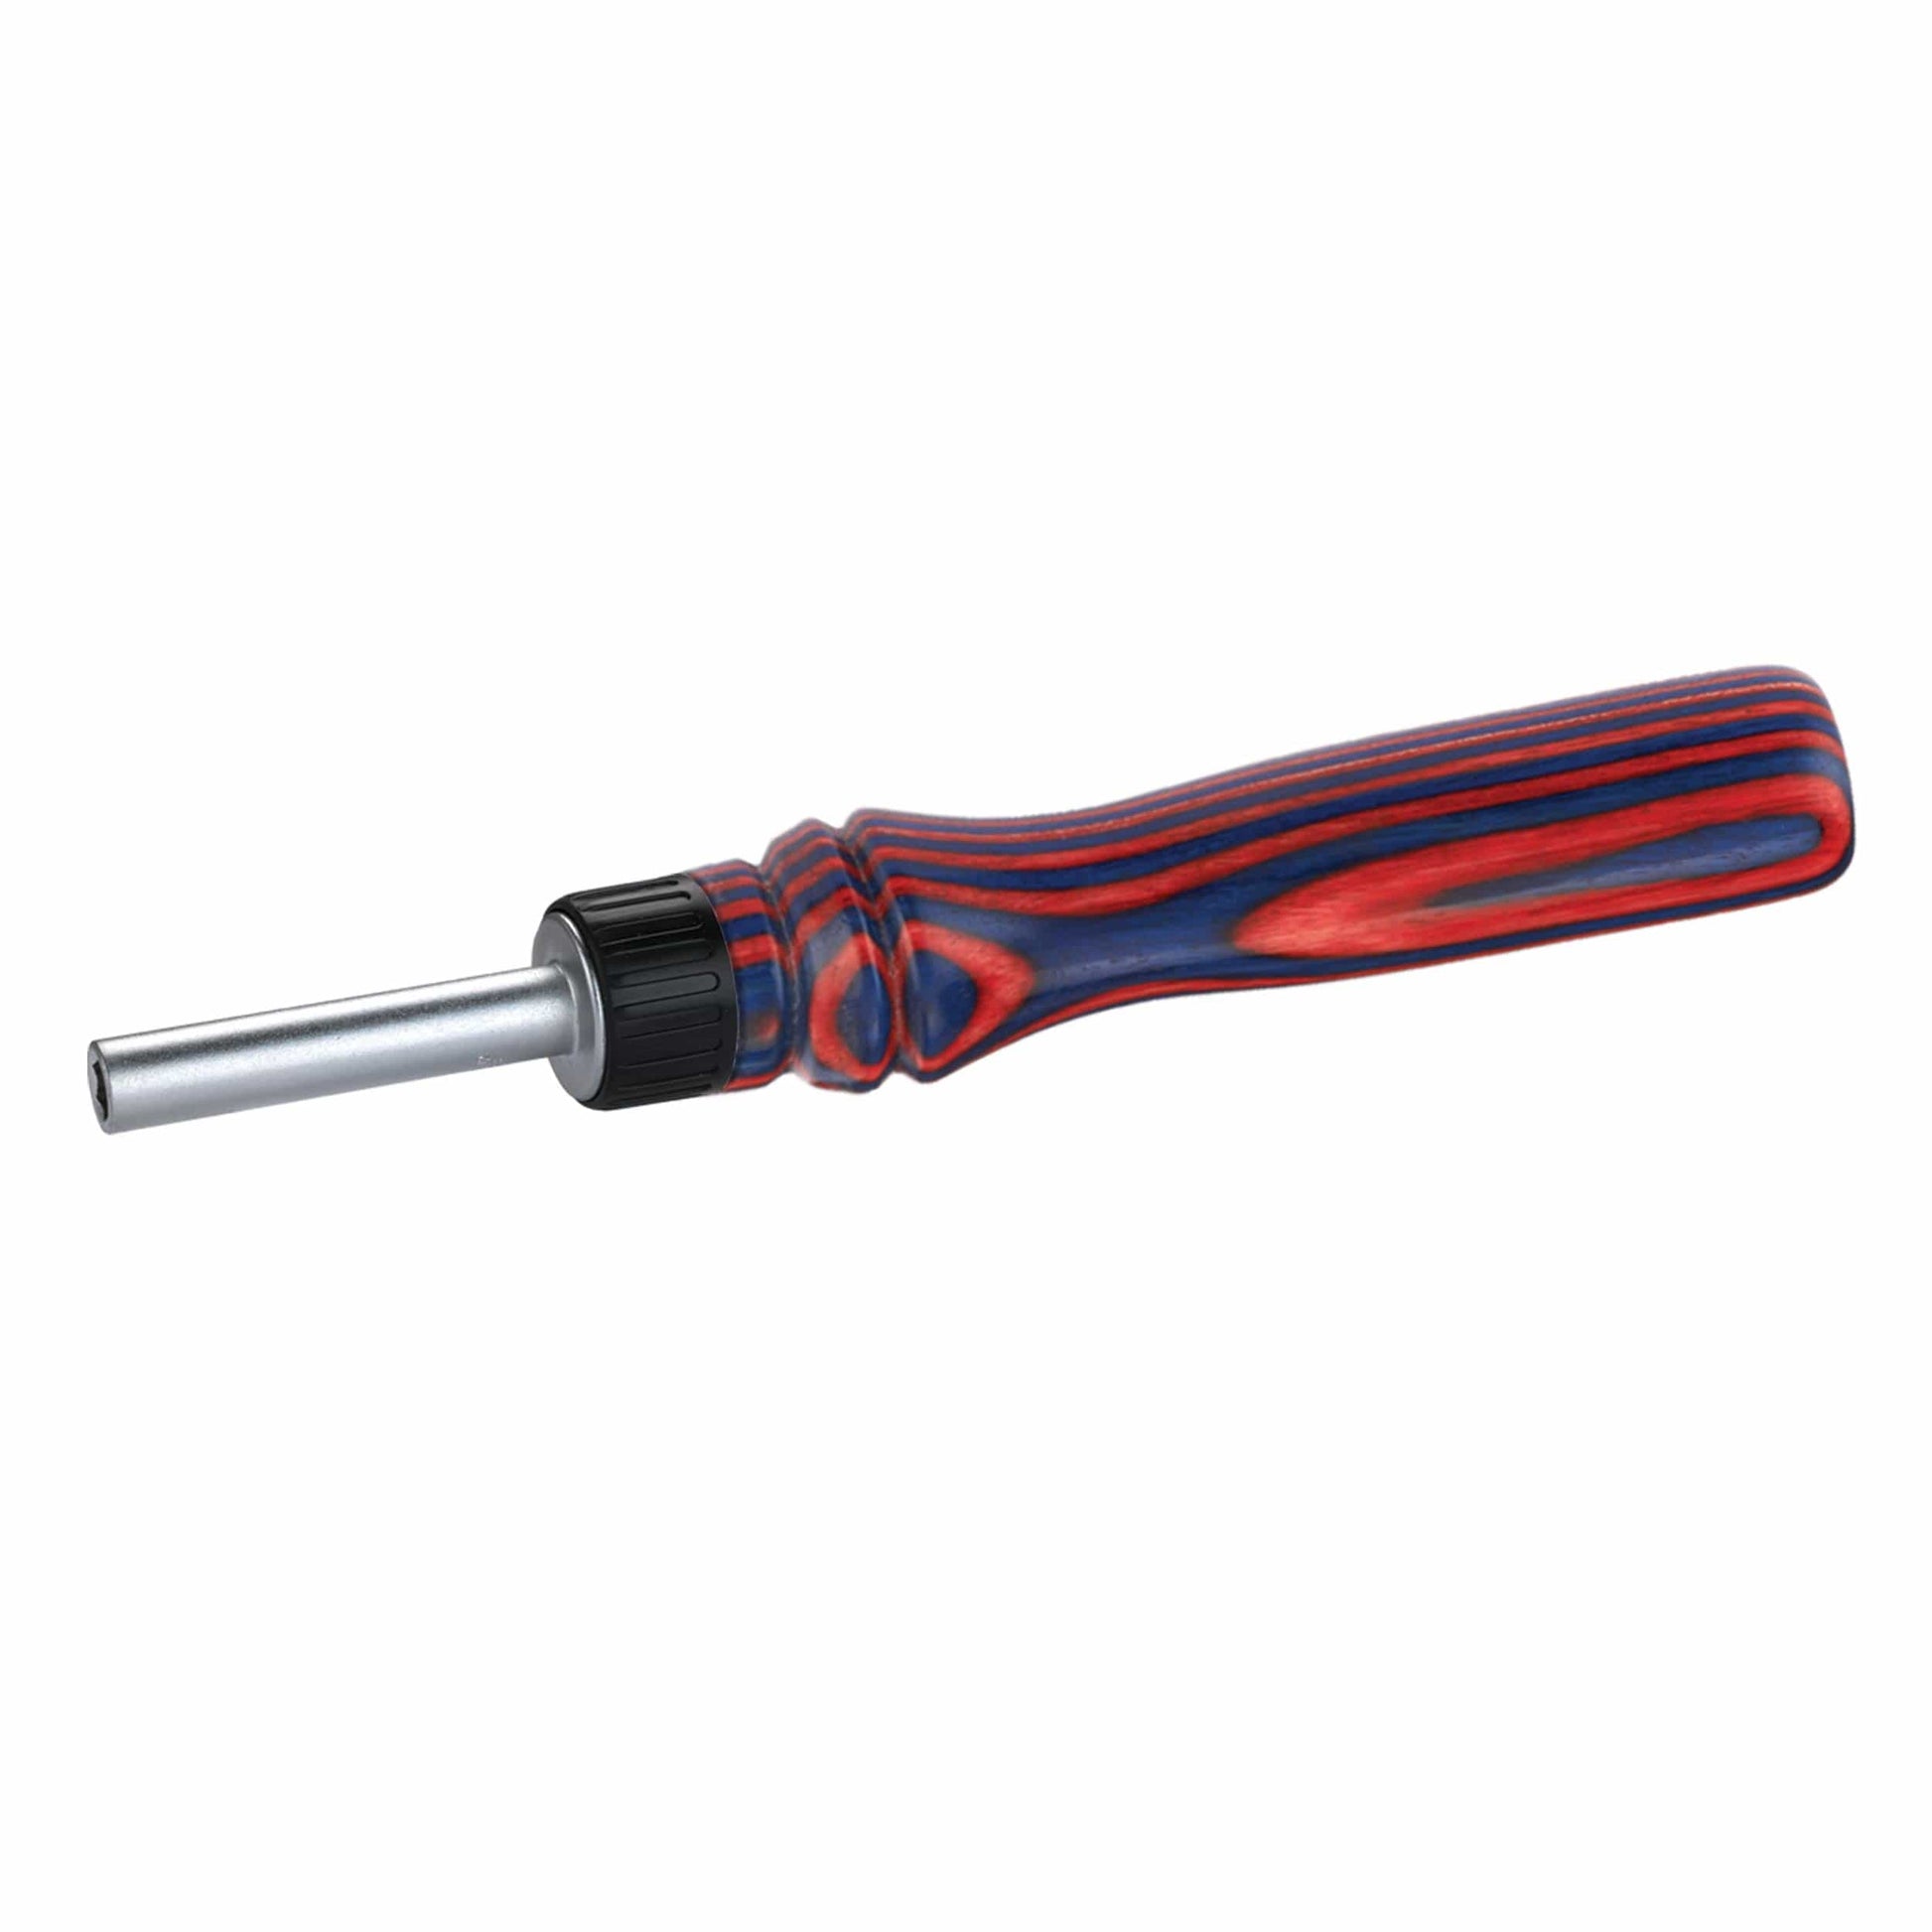


Be creative and turn a one-of-a-kind Ratcheting Screwdriver with this kit from WoodRiver®. Kit can easily be turned between centers using any 2" x 2" x 6" stock (sold separately). Prior to turning, bore a 14mm- diameter x 7/8"-deep hole. Once the screwdriver is turned and a finish of your choice has been applied, apply a liberal amount of 5-minute epoxy to the inside lip of the 14mm-diameter hole in the handle, and insert the base of the mechanism. Carefully avoid getting epoxy into the black rim of the ratcheting mechanism and the small hole on the top of the mechanism. We recommend using a small piece of masking tape to cover the hole during the glue-up process. 1/4" bits sold separately.
Features:
- Excellent beginner’s turning kit
- Great gift idea
- Strong ratcheting action
What's Included:
- (1) WoodRiver - Ratcheting Screwdriver Turning Kit
Notes:
- To construct a completed screwdriver, you will also need a 14 mm Pen Makers Drill Bit (#149129, sold separately) and a 2" x 2" x 6" turning blank (sold separately).
- Kit requires 1/4" driver bits (sold separately)